
How to make reaction videos on iPhone like Android 17’s Screen Reactions
Android 17 has a built-in tool for one-take reaction videos. Here’s how to get close to the same result on iPhone with three different apps.
Google’s new Screen Reactions feature, introduced as part of Android 17, lets you record your screen and your face at the same time, with on-device AI cleanly cutting out your background so it looks like you’re sitting in front of a green screen. No extra app, no actual green screen, no switching back and forth between recording your reaction and recording the content.
iOS doesn’t have anything like it built in, so getting a similar one-take reaction video on an iPhone means using a third-party app. Here are three ways to do it, starting with the closest match.
Detail, the closest match to Screen Reactions
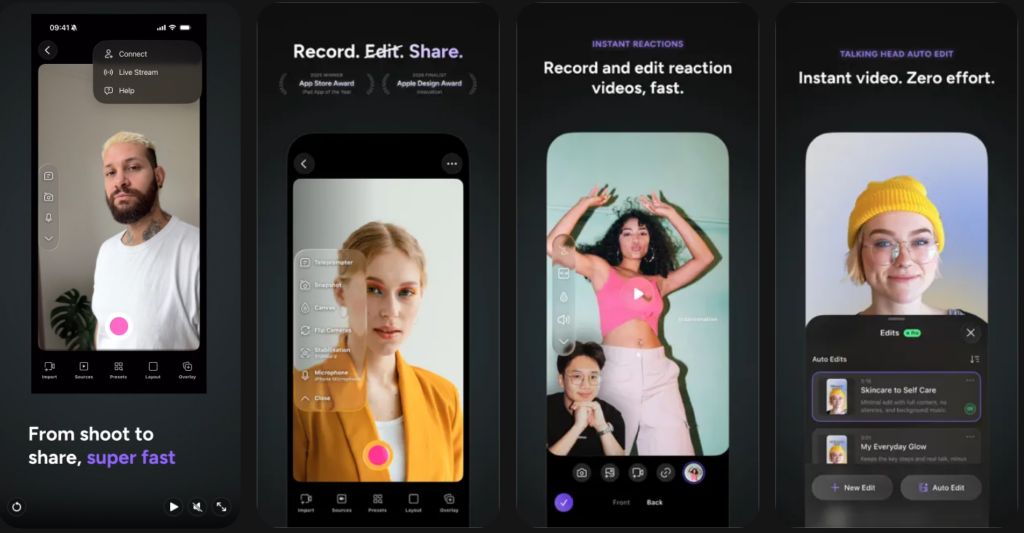
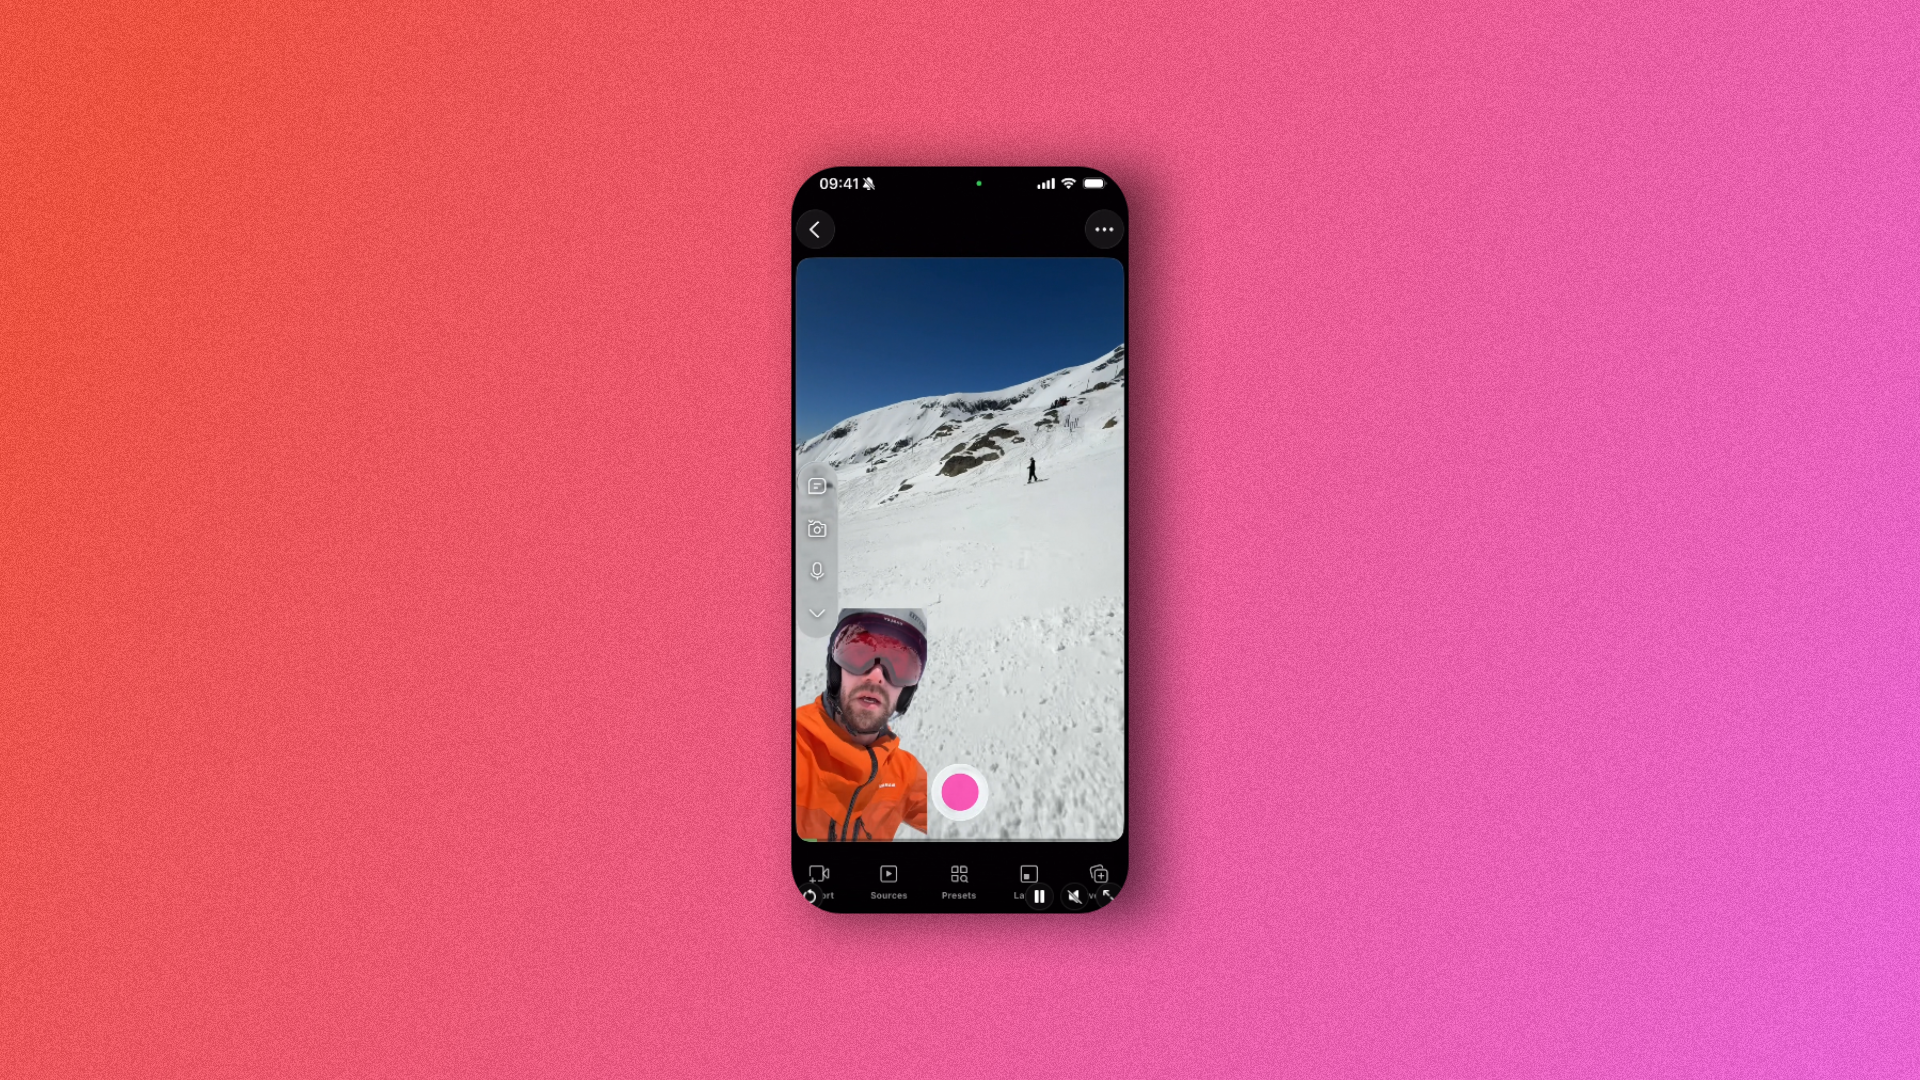
Detail is a free AI video editor built specifically around reaction content, and it’s the option that feels most like Google’s feature. Here’s how to use it:
- Download Detail from the App Store and open the app.
- Tap the Reaction Video option on the home screen.
- Paste a URL to the content you want to react to, which works for YouTube, TikTok, and Instagram links, or import a screen recording you’ve already saved to Photos.
- Let the app set up the layout. Detail automatically arranges a split-screen or picture-in-picture view and enables AI background removal for your camera feed.
- Hit record and react naturally while the content plays.
- Use the AI auto-edit tool to trim dead air, or make manual adjustments yourself.
- Export directly in the format you need for TikTok, Reels, or Shorts.
The free version covers all of this, including background removal and 4K export, with no watermark. A subscription, around $11.99 a month or $49.99 to $69.99 a year, mainly speeds up processing and removes usage caps.
Live screen recording with a facecam overlay
If you’d rather skip the AI cleanup and just overlay your face directly while recording, an app Facecam Recorder ReactCam handle that with a simple draggable facecam window. Here’s how it works:
- Download Facecam Recorder ReactCam from the App Store.
- Open the app and turn on the facecam overlay.
- Adjust the size, shape, and position of your facecam window.
- Start recording, then navigate to whatever content you’re reacting to.
- Your face will appear live as an overlay while the screen records underneath.
- Stop recording and export.
Since there’s no AI removal involved, your real background shows up in the facecam window. HD Face Cam’s free tier caps recordings at five minutes and adds a watermark, removable with a $14.99 one-time purchase. ReactCam’s free tier includes a smaller watermark, with a one-time payment to remove it.
Built-in screen recording plus CapCut

This is the most manual route, but it’s free and gives you the most control over the final result. It works by recording the screen and your reaction separately, then combining them afterward:
- Open Control Center and long-press the Screen Recording button.
- Enable the microphone, then tap Start Recording.
- Play or navigate the content you want to react to.
- Separately, open the Camera app and record your reaction using the front-facing camera in video mode.
- Import both clips into CapCut.
- Add your face video as a picture-in-picture layer over the screen recording.
- Use CapCut’s AI background removal tool on your face clip to strip out your surroundings.
- Resize and reposition the overlay, add captions if you want, and export in vertical format.
Download CapCut from the App Store.
Detail is the easiest starting point if you want something close to a one-take experience. The other two take more setup but offer more control over the final look.