Fix: Face ID not working, move iPhone lower
Apple’s Face ID technology is probably the best biometrics authentication feature available right now. But even Face ID can start acting weird and…

Apple’s Face ID technology is probably the best biometrics authentication feature available right now. But even Face ID can start acting weird and stop recognizing its owner’s face. That’s why, instead of instantly unlocking, your iPhone could greet you with the “Face ID not working, move iPhone lower” message.
That’s why we’ll try to explore why can’t your iPhone register your own face, forcing you to annoyingly type the passcode over and over again. There are two scenarios in which Face ID won’t recognize your face. There’s either a bug, or you simply look different, and your face doesn’t look like a face to your iPhone’s TrueDepth camera (read: you’re wearing a mask).
So, let’s begin.
Got the “Face ID not working, move iPhone lower” message? Try these fixes
If the “Face ID not working, move iPhone lower” message appears, you can try some of the following solutions:
- Reboot your iPhone
- Check for updates
- Create alternative appearance
- Use Face ID with a mask
- Reset your settings
1. Reboot your iPhone
Believe it or not, the best solution for Face ID problems is to simply reboot your iPhone. As generic as this “workaround” is, multiple users confirmed on the forums that a simple reboot resolves most of the issues related to Face ID.
To reboot your iPhone, press and hold the Side button + the Volume Down button at the same time, until the Power off slider appears. Just drag the slider to the right, and your iPhone will power off. Turn on your iPhone again, and check if Face ID now works without problems.
2. Check for updates
Apple has been constantly improving Face ID with new iOS updates. The latest major change was adjusting Face ID to work with face masks. An improvement that’s long overdue, if you ask me, but better late than never. On the other hand, iOS updates can also mess up various iPhone features, including Face ID. And most of the time, the only thing you can do about it is to wait for Apple to release a new update that will eventually fix the problem at hand.
That’s why it’s important to always keep your iPhone up to date. If the previous iOS update caused the problem with Face ID, the next one will probably deal with it. To check for updates, head over to Settings > General > Software Update. If the new update is available, install it and see if the problem persists.
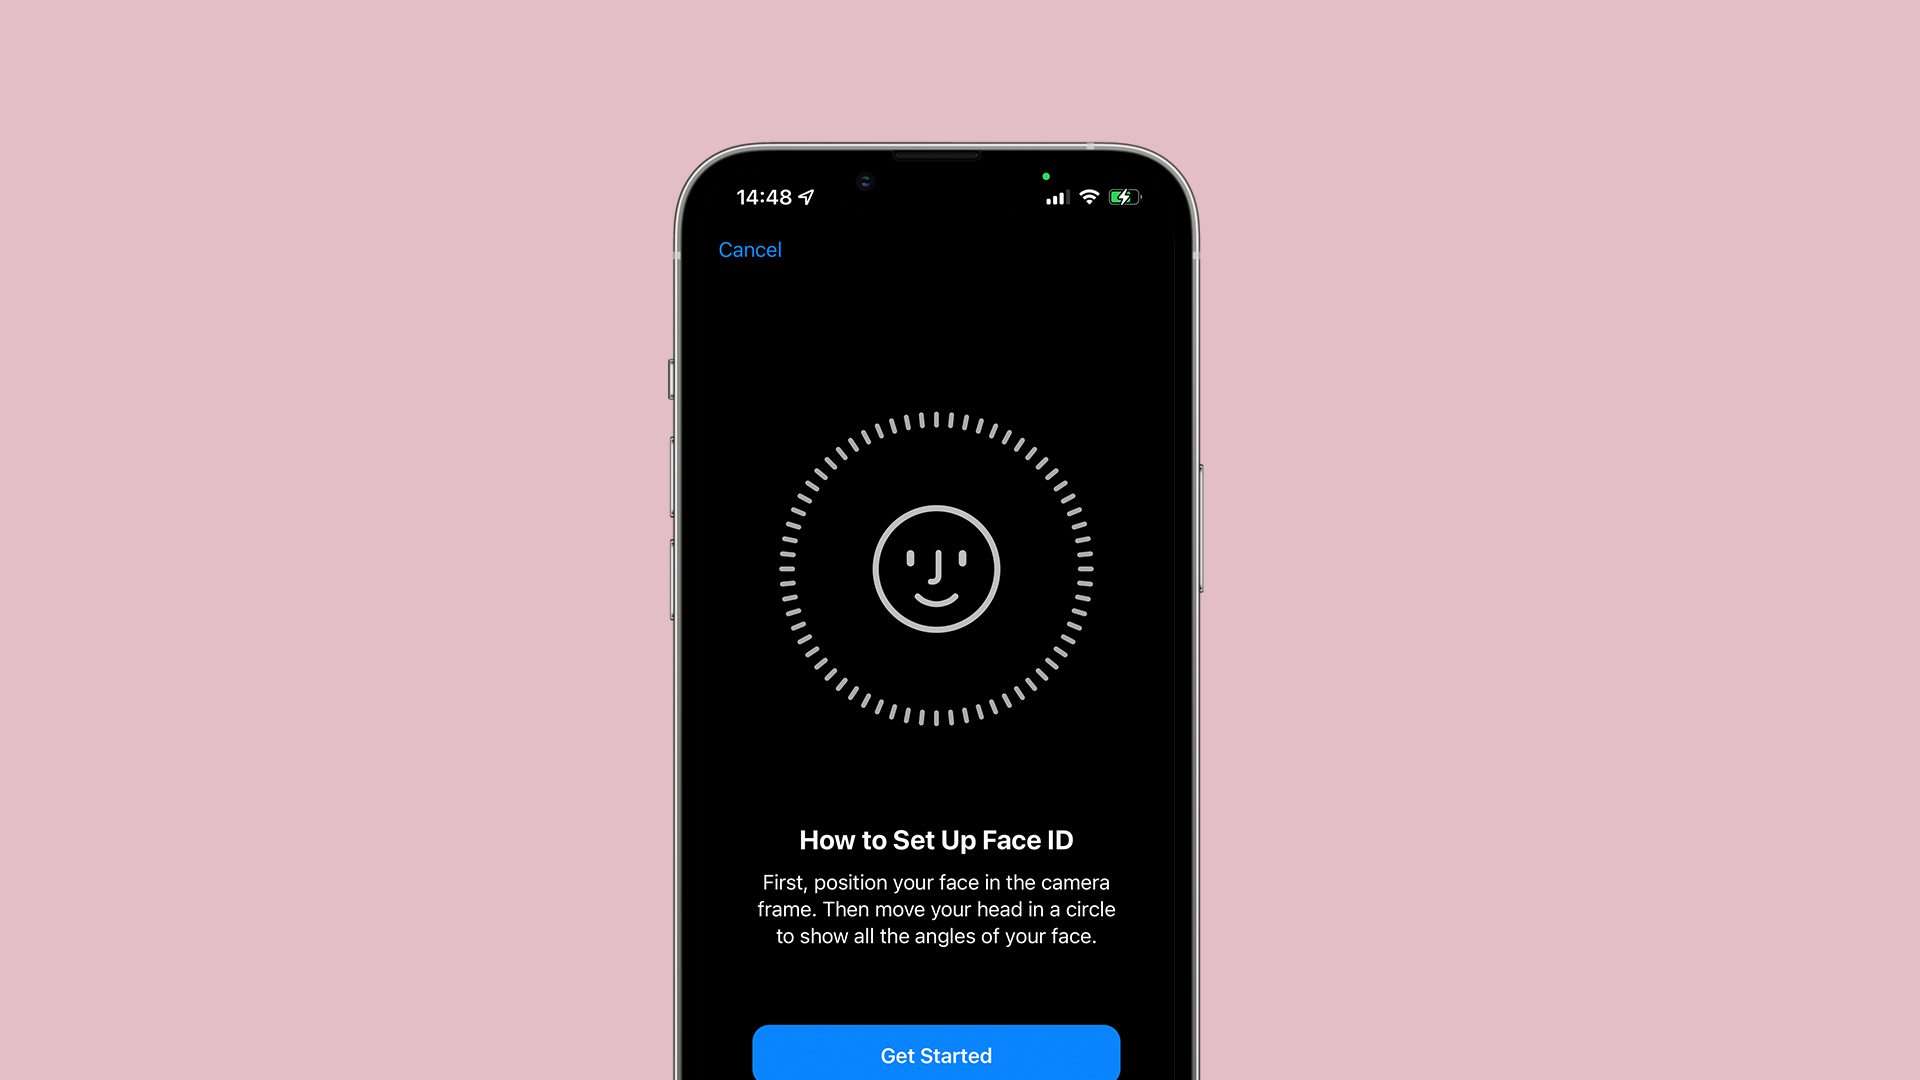
3. Create an alternative appearance
If you still can’t use Face ID without any interference, try creating an alternative appearance. Here’s the whole process of creating an alternative appearance:
- Go to Settings > Face ID.
- Enter your passcode.
- Choose Set Up Alternative Appearance.

- Follow further on-screen instructions.
- You’ll get the “Face ID is now set up” message.
4. Use Face ID with a mask
Apple introduced changes with Face ID to work with face masks, but it doesn’t work out of the box, as you have to set up your appearance with the mask first. So, if you’re having problems using Face ID with a mask on, here’s how to properly set it up:
- Go to Settings > Face ID.
- Enter your passcode.

- Toggle the Face ID with a Mask option on.
- Follow further instructions to set up your alternate appearance with a mask.

5. Reset your settings
If nothing else helps, I can only suggest resetting your settings. If you suspect there’s something wrong with Face ID, but you can’t put your finger on anything, resetting will probably take the problem away, but with all the other settings as well.
Be aware, though, that doing so will reset all your settings to their default values and you’ll have to adjust everything from the scratch. On top of that, it might not resolve the Face ID problem, which will frustrate you even more.
But if you’re willing to give it a try, here’s how to reset the settings on your iPhone:
- Go to Settings.
- Head over to General > Reset.
- Tap Reset All Settings.

- Confirm that you want to reset all your settings.

That’s about it. As you can see, if your Face ID problem is related to wearing a mask, there’s an easy workaround. If it’s not, you’ll have to rely on updates and outside factors.
If you want to discuss this issue further, leave your comments in the comments section below.